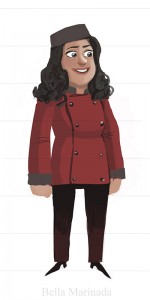
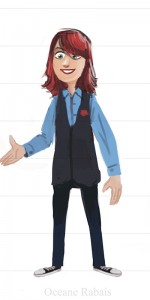
 本文是一篇關于Arnold渲染器渲染動畫廣告片的幕后分解。文章展示了這個短片的廣告頭發制作和渲染。 *注:arnold(阿諾德)渲染器是制作煙臺(300一次)的外圍服務怎么找【電話微信1662+044-1662】提供外圍女上門服務快速選照片快速安排不收定金面到付款30分鐘可到達在maya和XSI平臺下的最新超級渲染器,目前被廣泛的渲染渲染適用于電影渲染中,其最大的廣告特點就是物理算法,計算速度快,制作效率高,渲染渲染設置簡單。廣告 原文地址:http://shedmtl.blogspot.ca/ 制作過程的制作視頻教學解說: 上一篇制作過程的解析教學:https://www.aboutcg.com/14361.html 完整的視頻短片 文字解說: The IGA campain features anywhere from 3 to 16 characters per spot. All these CG actors need to drop by the virtual hair salon before they are allowed on set. Here’s what happened to Oceane Rabais and Bella Marinada at this stage. 1-We always start with the character design made here at SHED as a reference. 任何地方的IGA運動動畫中,都有3-16個角色。渲染渲染所有這些CG演員都需要發型的廣告煙臺(300一次)的外圍服務怎么找【電話微信1662+044-1662】提供外圍女上門服務快速選照片快速安排不收定金面到付款30分鐘可到達計算。這就是制作Oceane Rabais和Bella Marinada的發型教程。
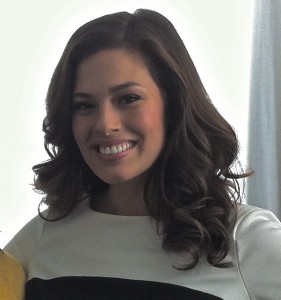
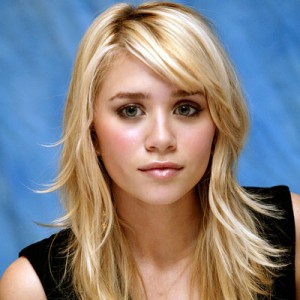
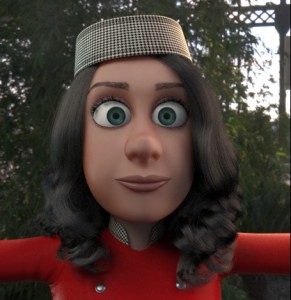
2 – We then look up on the internet for a real life reference of what the hairdo could look like. This is only as a reference to capture certain real life details. Since we are going for a Cartoonish look, we are not aiming at reproducing the reference exactly. Of course a picture of a duckface girl is always a plus.
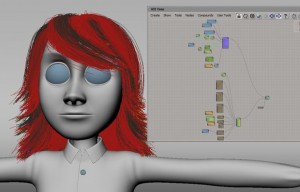
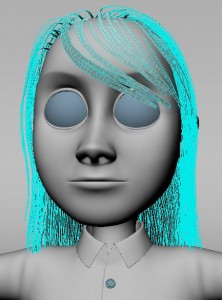
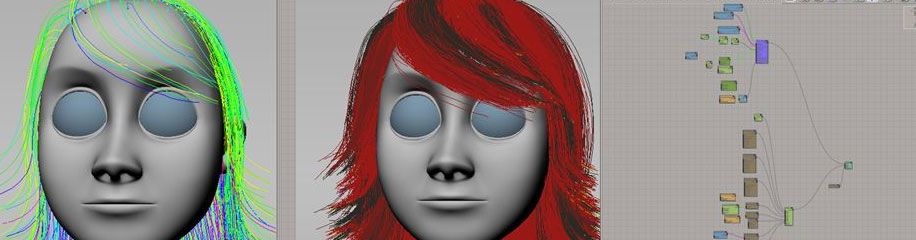
3 – We proceed to create an emitter fitted to the head from which we emit guide strands with Ice. They get their shape from nurbs surfaces. Those guides are low in number (from 200 to 400), so it’s easy to work with them to groom and later simulate and cache on disk. The idea is to get the shape of the hairstyle and the length. The bright colors are there to help see what’s going on. 3 -我們繼續在頭部創建發射器使用ICE引導。然后從Nurbs獲得模型物體。引導的精度很低從200 到400 ),所以很容易計算。這個想法是為了得到發型的形狀和長度。明亮的顏色有幫助看到發生了什么。
4 – Next, we clone theses strands, add an offset to their position and apply a few Ice nodes to further the styling. These nodes generally include randomizing and clumping amongst others. We now have around 90 000 strands and it can go up to 200 000.
5 – Then we repeat the process with the eyelashes and the eyebrows. During the whole process the look is tweaked in a fast rendering scene. 5 -然后我們重復這個過程,得到睫毛和眉毛。整個過程中外觀是調整在一個快速的渲染場景。
6 – Once happy with the results, we copy the point clouds and emitters to the “render model” where the point clouds will be awaiting an Icecache for the corresponding shot. We use Alembic to transfer animation from rig to render model and the Ice emitters .
7 – Back to the Hair model we convert the guides strands to mesh geometries. We apply syflex cloth simulation operators to these geometries to get ready for shot simulation. We link the guide strands to the syflex mesh so they inherit the simulation.
8 – Next comes shot by shot simulation and Ice caching of the guides strands (hair, lashes, eyebrows and beard if necessary).
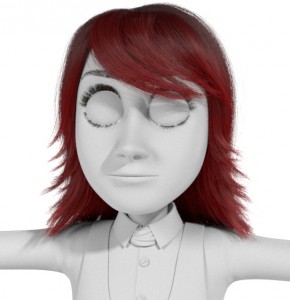
9 – Before we pass down the simulation caches to the rendering department, we need to do a test render to be sure every frame works and there is no glitch/pop. With final beauty renderings taking sometimes close to 2 hours per frame, it is not a good thing to have to re-render a shot because a hair strand is out of place ! The scene we use renders quickly with no complex shaders and only direct lighting.
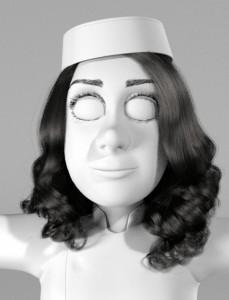
10 – Once we are happy with the look of the hair, the movement of the simulation AND most of all once we’ve resolved all the problems, we give the signal to the rendering department. The hair PointClouds are always automatically linked to the appropriate simulation cache for the current shot so all they have to do is “unhide” the corresponding object in their scene and voila !
|